
To assure the best result to a poster image of a press release or press event email, and also to the post in your press room, you can adjust the image.
Making your poster image look great is easily done by cropping it. This allows you to adjust the image to fill the full image area and zooming in on the important bits.
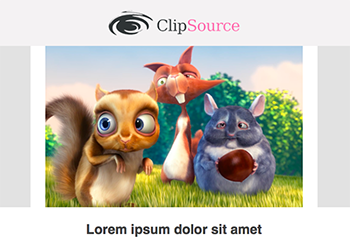
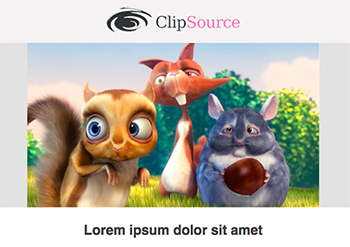
Examples of poster images to a press release:
| Before: | After: | |
 |
 |
Crop an image
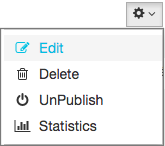
Go to the PressWeb module and enter Press releases or Press events in the left side menu. Open the listed post you want to work with via the settings wheel on the right hand side of the title.
1. Upload or select image
Go to the 'Related media' tab. Upload an image by clicking the blue button to the right, or update an image already uploaded.
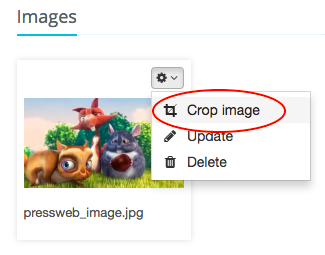
2. Image settings
Enter 'Settings' to the image (upper right corner) and choose 'Crop image'.
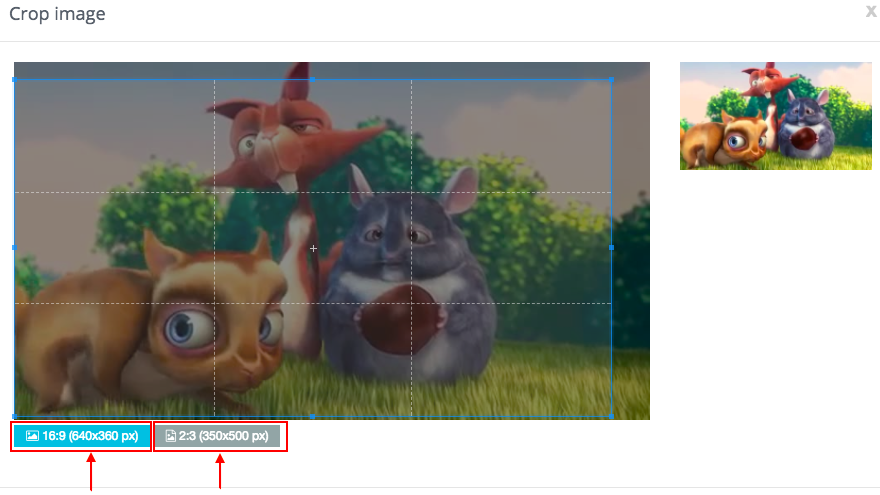
3. Use crop rectangle to select area.
Select the area you want to crop. The view to the right shows what the image will look like.
3.1 Orientation
Depending on the image being a landscape or portrait image you can change orientation to horizontal (16:9) or vertical (2:3) by clicking the buttons below the crop tool.
3.2 Image size
The pixel sizes added to each aspect ratio button shows the required minimum size to fill out the image space for a poster image.
3.3 Select area to crop
Grab a corner to resize the image and/or move the rectangle to select an area. The selected area will become the new image, replacing the old version. It is only the poster and thumbnail that is updated. The download (original) version remains the same.
4. Save image
Click 'Crop' button to crop and update the image. The new version of the image is now saved.
Comments
0 comments
Please sign in to leave a comment.